Run a Tor relay
Tor is an important tool for your privacy, security and freedom of speech. In an increasingly Orwellian world, Tor has become one of the most important tools, in my opinion, for you to be truly free online.
I would like to start doing my part to help out with a project that I’ve personally used for years, which is why I am writing up this guide on how to set up a Tor middle relay on a Digital Ocean droplet.
What is a Tor relay?
Over the years, Tor has been in need of middle relays in order to increase it’s speed, and provide a more reliable service for it’s users.
Tor relays are also referred to as “routers” or “nodes.” They receive traffic on the Tor network and pass it along. Check out the Tor website for a more detailed explanation of how Tor works.
For greater security, all Tor traffic passes through at least three relays before it reaches its destination. The first two relays are middle relays which receive traffic and pass it along to another relay.
Middle relays add to the speed and robustness of the Tor network without making the owner of the relay look like the source of the traffic.
The more middle relays that Tor has, the faster it goes, making it more likely that there will be more users, which in turn adds to the security of those on the network.
It’s a circle of growth that I would like to be a part of.
With most guides, Tor relays are set up on your own personal computer (here and here, as examples).
However, since Digital Ocean has been OK with middle relays for Tor, I think it’s a great solution to keep your Tor relay separate from your home network, and computer.
Today, I am going to break down the process I’m taking to set up my own Tor middle relay on Digital Ocean.
Getting started with Digital Ocean
For those of you who don’t know, Digital Ocean is a SSD cloud server host that lets you spin up a droplet in 55 seconds.
By using the following sign up link (my affiliate link), you get a $10 credit, which means you’ll be able to set up a server for your Tor relay without even having to come out of your pocket for the first two months.
Getting your account set up is fairly straight forward.
Create an account on their home page, add your credit card information for billing, and you’re ready to start setting up your first droplet.
Creating your Droplet
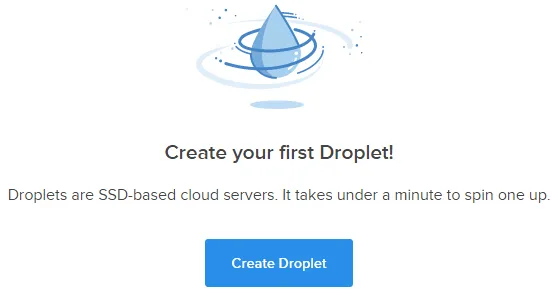
Once you’ve signed up for Digital Ocean and have added in your billing information, you’ll now be creating your first Droplet. Don’t worry if you have never done something like this before, Digital Ocean makes the process a breeze.
Once you click the Create Droplet button, you’ll be taken to a page where you need to add your Droplet name and select what kind of server you want to run.
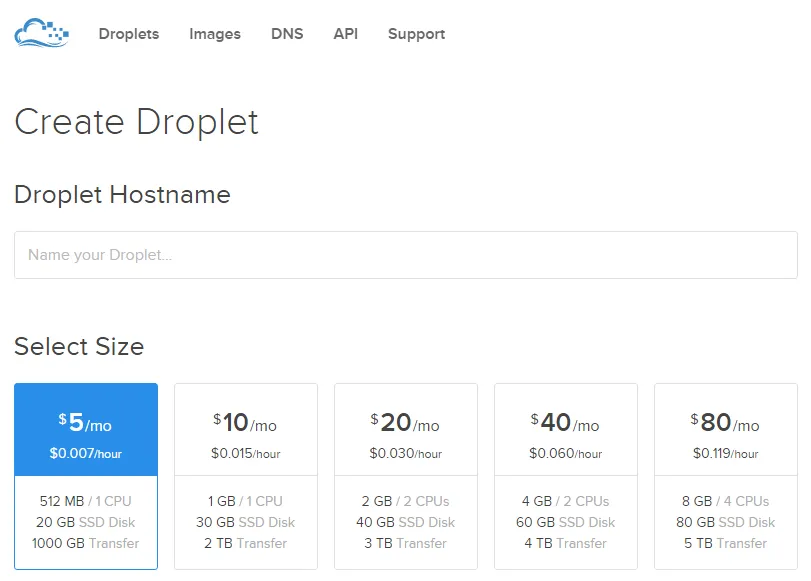
- You can name your Droplet whatever you’d like. For mine, I chose
FuckYeahTor, but feel free to make yours something less vulgar 🙂 - Select the $5/month Droplet size.
- Select the New York #3 Region
- Select Debian 7.0 x64 for the Droplet Image
- Click the Create Droplet button
- Wait for the Droplet creation to finish
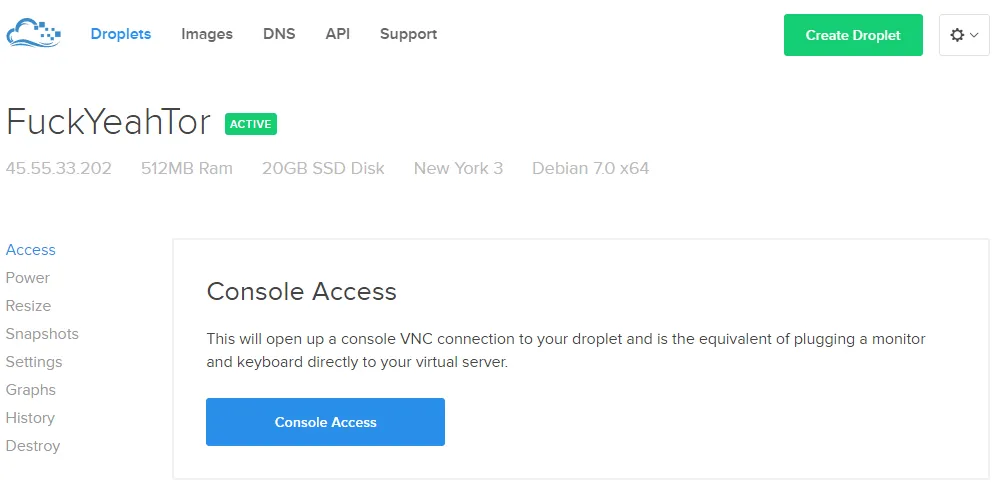
If you are now seeing a screen like the image below, congratulations! You’ve just set up your first Droplet using Digital Ocean.
Setting up your Tor relay
Now that you’ve got your server set up, it’s time to start getting the Tor relay set up. Firs things first, click the Console Access button like in the screenshot above, or use your favorite SSH client, like PuTTY.
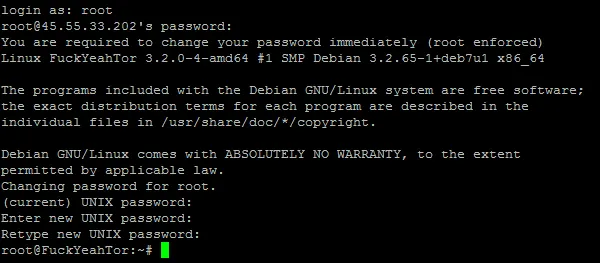
This takes you to a screen with a black box that asks for your user/pass. This has been sent to you via email, so grab that and log in. Once you’re logged in, it requires that you change your password, and when you do that, you’re looking at a screen similar to the one below.
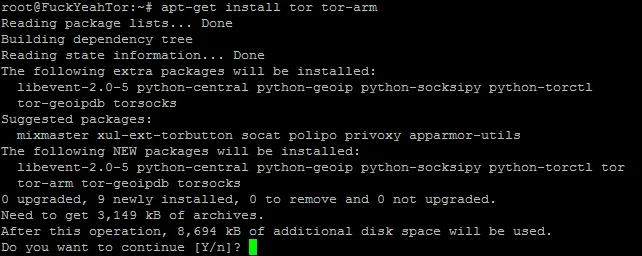
Next, we’ll be installing Tor & Arm onto our server. In your SSH client (or Console), type the following in:
apt-get install tor tor-arm
Hit ENTER on your keyboard and you’ll now see a bunch of stuff happening in your window. Let this run it’s course, until it asks you to type Y/N to continue. Type Y and hit ENTER on your keyboard.
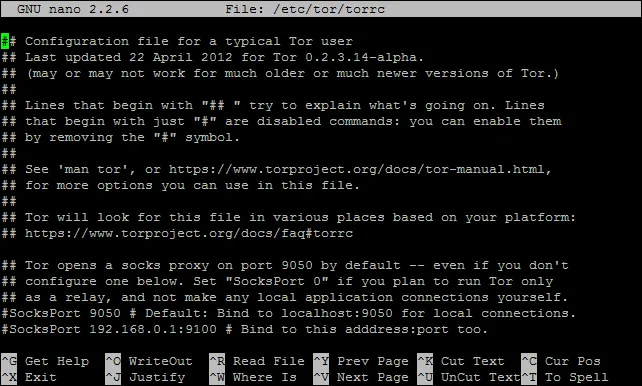
Now well be editing the Tor config file in order to set up the proper settings for our Tor relay.
In your SSH client, type the following:
nano /etc/tor/torrc
This will open the file in your console, which looks like the image below.
Now, we’ll be scrolling through the file content and editing the following options so they reflect the information below (note: they’re all not together, I just published them this way for ease of reading)
ORPort 443
Exitpolicy reject *:*
Nickname YourNickname
ContactInfo youremailaddress AT gmail dot com
Log notice file /var/log/tor/notices.log
RelayBandwidthRate 1024 KB
RelayBandwidthBurst 1024 KB
Once you’ve saved the file, you’ll need to run the following:
service reload tor
then run
sudo -u debian-tor arm
If all went according to plan, you’re done and your Tor relay should be up and running.
According to this article from Tor, there’s a life cycle that your relay goes through. During this time frame, you shouldn’t expect to see much bandwidth used right away while Tor does all of it’s tests.
My thoughts on the process
There’s a lot of documentation out there on how to set up Tor Relays, but in order to do this through Digital Ocean, I had to hack together some of these how-to’s from various sources in order to get it to run right.
The process took me a little longer than I would have liked, but overall it wasn’t too bad, and now that I’ve got a Tor relay set up, and the process is documented, I’m going to go back and set up another relay soon.
Thank You’s
The links below were a big help for me getting this process together, and I doubt I would have been able to get this all sorted out without their help.
- Tor Project … obviously!
- Digital Ocean for the easy to use server & for allowing middle relays
- EFF’s Tor Challenge
- This Gist was a great help in visualizing the setup for me
- Tyler Longren’s article on Tor and Digital Ocean
How’d it go for you? Were you able to get set up, or was there a part of the process that you didn’t fully understand?
Drop a comment and let me know and I’ll help as much as I possibly can.